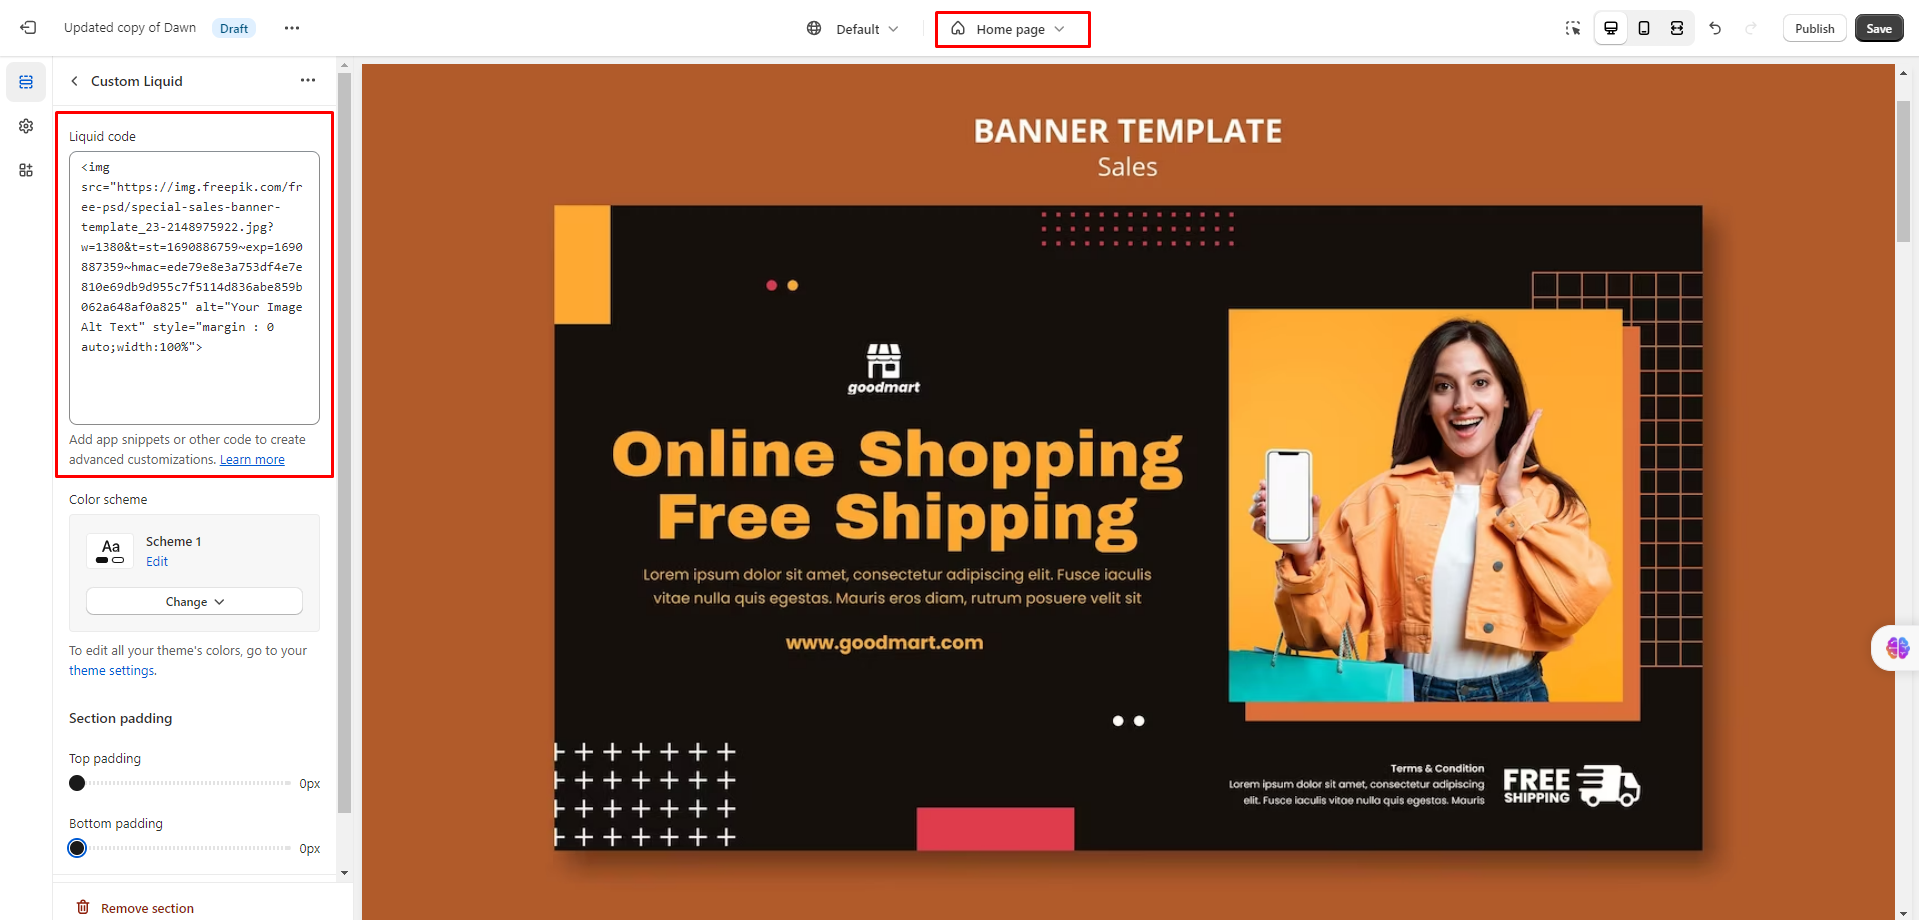
How to add image to homepage with html code?
As an online store owner using Shopify, customizing your homepage with engaging visuals is crucial to creating an appealing and professional shopping experience for your customers. Shopify allows you to add images to your homepage easily using HTML and Liquid code, enabling you to showcase your products, promotions, and brand identity effectively. In this article, we will guide you through the steps to seamlessly add an image to your Shopify homepage using HTML and Liquid code.
Step 1: Prepare Your Image:
Before diving into the code, ensure you have a high-quality image that aligns with your brand and complements your homepage’s content. Optimize the image for web use to maintain loading speed and visual quality.
Step 2: Access Shopify Admin:
Log in to your Shopify admin using your store owner credentials. From the admin dashboard, navigate to “Online Store” and then click on “Themes.”
Step 3: Edit Your Current Theme:
In the “Themes” section, locate your current theme and click on the “Actions” dropdown menu. Select “Edit code” to access your theme’s HTML, CSS, and Liquid code.
Step 4: Locate Your Homepage Template:
In the theme editor, navigate to the “Sections” folder and find the “homepage.liquid” or “index.liquid” file. This is the template for your homepage.
Step 5: Insert HTML Image Code:
Within the “homepage.liquid” or “index.liquid” file, look for the section where you want to add the image. To insert the image using HTML code, use the following snippet:
<img src="https://img.freepik.com/free-psd/special-sales-banner-template_23-2148975922.jpg" alt="Free-Pik image" />
Replace 'your-image-file.jpg' with the filename of your prepared image. Be sure to maintain the correct file extension (e.g., .jpg, .png). The asset_url Liquid filter retrieves the image URL from your Shopify store’s assets.
Step 6: Adjust Image Properties (Optional):
To further customize the image, you can add additional HTML attributes within the <img> tag. For example, you can set the image width and height, add a CSS class, or include a link to another page or product. Here’s an example:
<img src="https://img.freepik.com/free-psd/special-sales-banner-template_23-2148975922.jpg" alt="Free-Pik image" width="500" height="300" class="homepage-image" />
Step 7: Save Changes:
After adding the HTML image code and making any desired adjustments, click on the “Save” button to apply the changes to your homepage template.
Step 8: Preview Your Homepage:
To preview the changes, click on the “Preview” button or open your store in a new browser window. You should now see the image displayed on your Shopify homepage.
Conclusion:
Adding images to your Shopify homepage using HTML and Liquid code is a simple yet effective way to enhance your store’s visual appeal and engage your customers. By following the step-by-step guide above, you can effortlessly showcase your brand, products, and promotions, creating an enticing and memorable shopping experience for your visitors. Take advantage of this customization feature to make your homepage visually appealing and drive more conversions for your Shopify store.
Related Article: 7 Best Shopify Image Slider Apps 2023


Leave a Reply